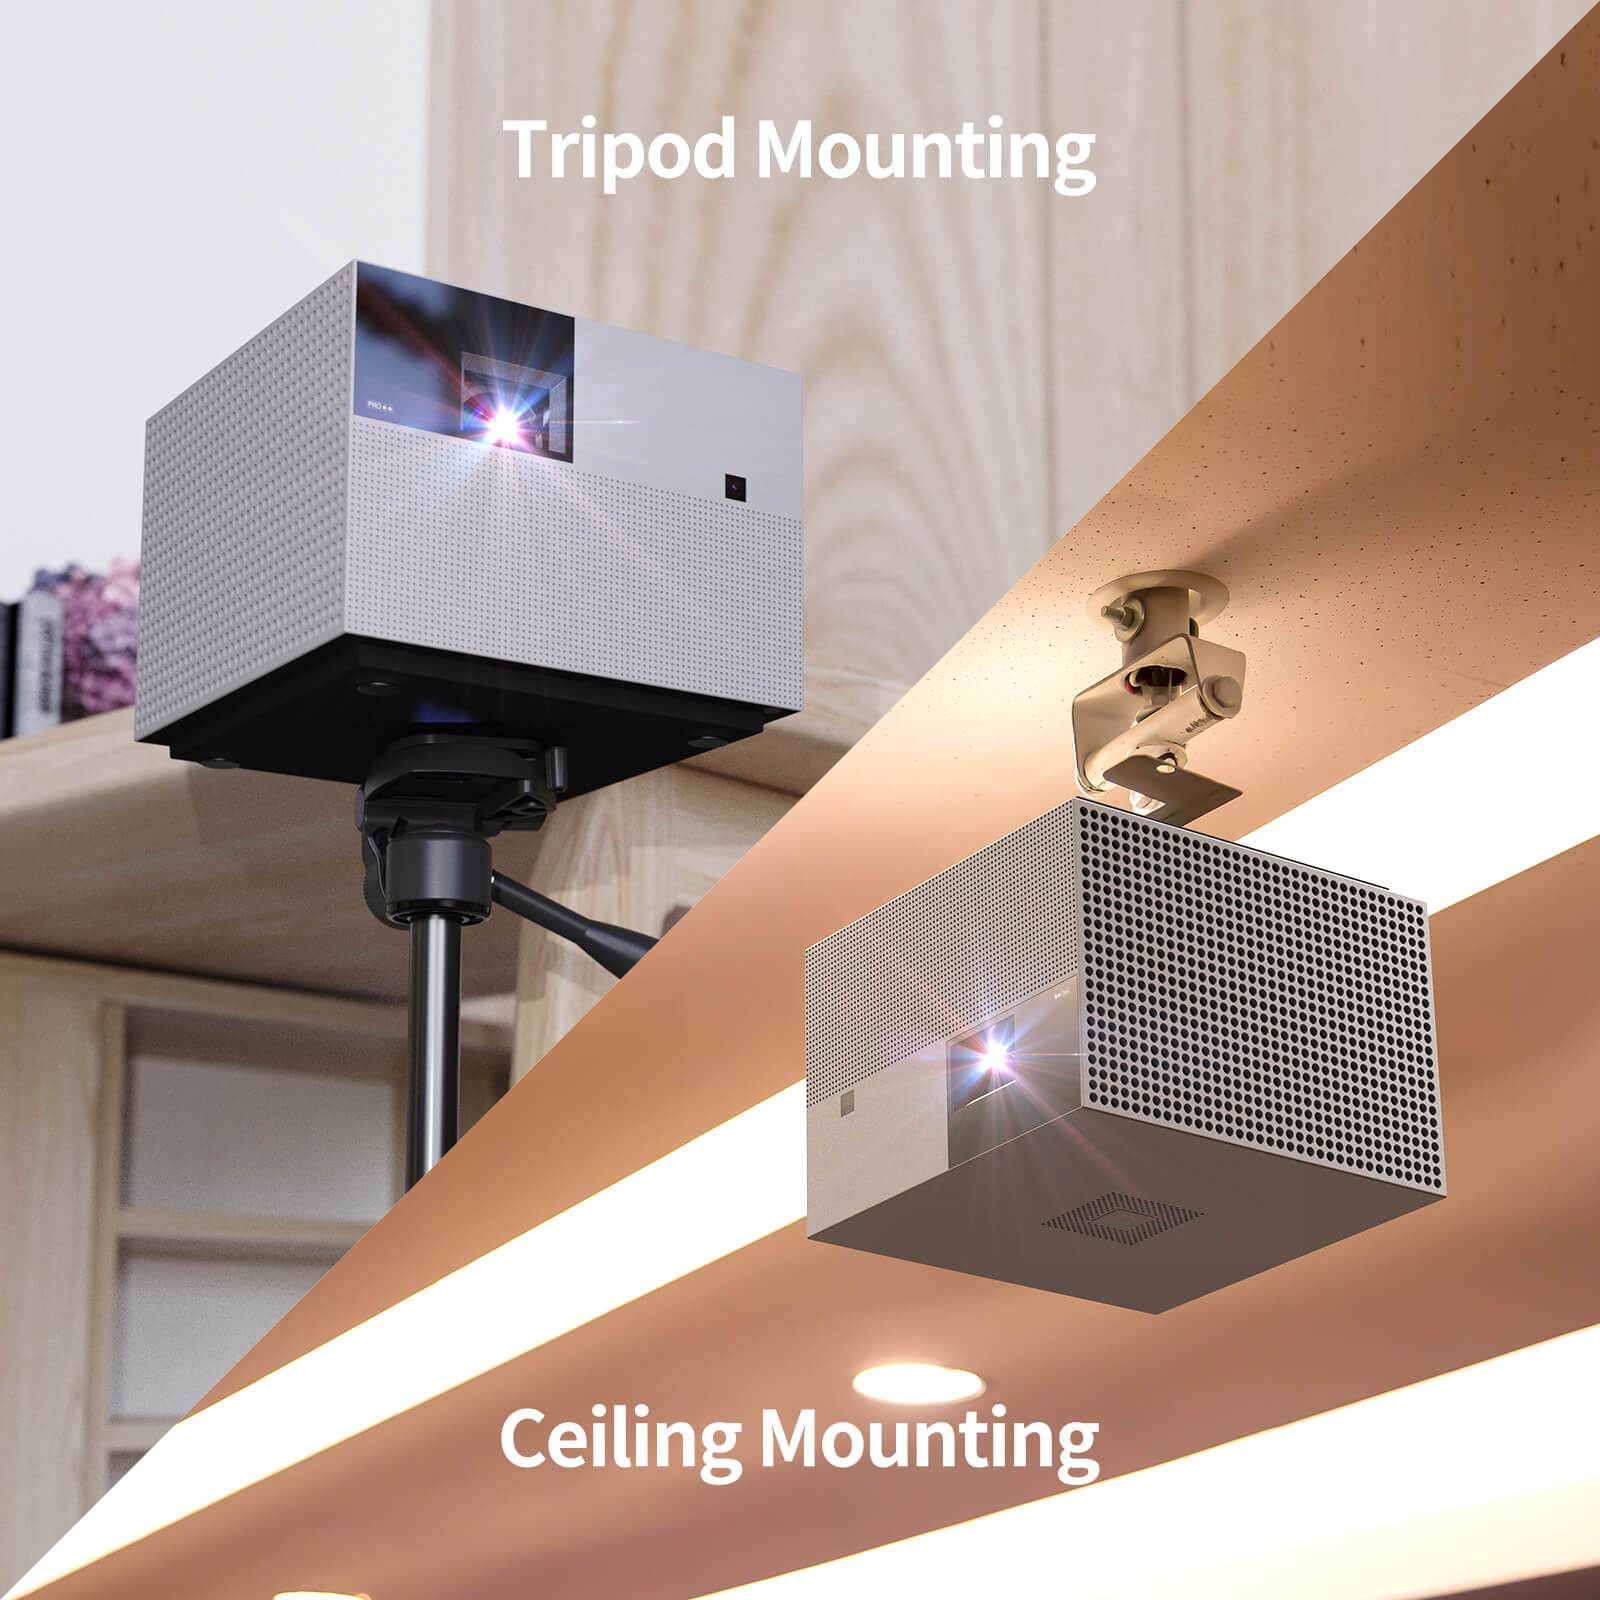
Mounting a projector on the ceiling of your home theater area can make it look more professional and comfortable. With this type of setup, you'll get not only a unique movie theater-like experience, but you'll also save space and protect your equipment.
However, you also need to consider a number of factors before proceeding with this mount. This includes the measurements of your equipment and media room, as well as the best kind of ceiling projector to fit your specific needs.
With this step-by-step guide on how to mount a projector to ceiling, you will ensure you make the mount the right way, which will also guarantee your enjoyment while watching your favorite movies and TV series.
Why have a ceiling-mounted projector?
With a projector attached to the ceiling, you can better adjust the throw distance by placing the mount wherever you want to get the best image size. This improves the quality of the image, offering a better overall experience.
Also, a ceiling-mounted projector is a better way to avoid having your equipment bumped out of its position or tripped over by other people walking around.
Types of ceiling mounts for projectors
The following are the three types of ceiling mounts for projectors that you'll usually find on the market:
1. Above-ceiling projector mounts
Above-ceiling mounts are a good fit for large and heavy projectors. The anchor of these mounts is placed above the ceiling line, which gives a more secure placement for these types of projectors.
2. Below-ceiling projector mounts
Below-ceiling projectors are typically used for smaller projectors because their anchor is on the underside of the ceiling. In this case, a ceiling joist is recommended to securely attach the mount to the ceiling.
3. Projector lifts
Projector lifts use a motor that makes it possible to retract the projector into the ceiling when necessary. These are usually placed above the ceiling and are operated by pushing a button or switch.
Which WEMAX projectors can be ceiling-mounted?

If your home theater is small, your best bet is a short throw projector. The great advantage of this type of projector is that it can produce large images from a very short distance, which is perfect for saving space.
Although these types of projectors are usually placed on small tables or even on the floor, you can also mount a short throw projector on the ceiling; for this, you only need a specialized projector ceiling mount.
Also, with a short throw projector, you can enjoy the splendor of a 100-inch screen from a distance of about 8.2 feet with high resolution. A good example of this is the WEMAX Vogue Pro.
WEMAX Vogue Pro has a size of 200*200*148 mm and a weight of just 3.5kg. Thanks to its HD resolution of 1920 x 1080 pixels with ultra-bright 1600 ANSI lumens, gigantic image scale up to 120", and room-filling Sound Dual 10W built-in DOLBY Audio and DTS-HD speakers, you'll enjoy your favorite movies, sports events, games, and TV shows like never before.
Factors to consider when selecting a mount

Although at first glance it may seem that installing a projector on the ceiling is an easy task, there are several factors you should consider to ensure that the installation doesn't diminish your entertainment experience.
Weight capacity and compatibility
Make sure the mount is of high quality and strong enough to support the weight of your projector. Pay particular attention to the quality of the joints. The mount should also be well suited to the reach, aspect ratio, and size of your projector.
Adjustability and flexibility
A good projector mount should be able to rotate, ascend, descend, and invert to suit any need. Note if the manufacturer offers enough accessories (such as extensions and plates) to expand the possibilities of the mount.
Type of roof and structure
Before any installation, first check that the structure in your room has the proper height and strength to support the weight of your projector, whether it's concrete or strong wood.
What you need to mount a ceiling projector
In order to successfully complete your projector mount installation, you will need a few essential tools. Make sure you have the following before you begin:
- Projector
- Mount kit
- Ladder or step ladder
- Drill
- Screwdriver
- Wrench or Allen wrench
- Tape measurer
- Pencil
Optionally, you may also need 2x4 boards and anchor bolts to give more strength to the installation, depending on the structure.
Step-by-Step Guide: How to attach a projector to the ceiling
Step 1: Check the position of your projector from your screen
Make sure you place your projection equipment in the correct place and at the appropriate distance. This means placing the screen in a place where it won't be receiving direct light and doing some tests to find the best projection and viewing distance.
1.1 Identify the projector's throw distance

By trial and error, place the projector and screen in different locations around the room (considering where viewers will be sitting) until you get an image as clear as possible.
1.2 Check the projector's vertical offset
Do several tests with the vertical offset of the projector to find the ideal projection height. You can try the height specified in the manual and adjust it until you find the one that is most appropriate for you.
1.3 Find the center line of your ceiling projector screen
If your projector has a horizontal lens shift, you won't need to position the projector mount right on the center line, as it'll allow you to move it to the left or right as you need. Once you have the optimal throw distance and height, find the correct horizontal line by using the projector's horizontal lens shift.
If your projector doesn't have a lens shift, use the following formula: Measure the distance between the wall and the edge of the screen + half the width of the screen.
Finally, mark your measurement on the ceiling where your projector should be placed, but this time, mark from the other end of the same wall from where you started measuring in the first place.
1.4 Screen placement
The most important factor is placing the screen in an area of the room that doesn't receive direct natural or artificial light, since this will ruin the image quality. If the room has windows, cover them with blackout curtains. Make sure that your projector screen has ambient lighting rejection properties to get the ideal image quality for your home cinema.
1.5 Screen height
The height of the screen will depend on the characteristics of your home theater and the number of people who will be sitting there. The more rows of people, the higher the screen should be to avoid blockages.
1.6 Other things to consider
- Place your projector away from objects on the ceiling that could block it (lamps, fans, etc.).
- Hide cables to prevent accidents and give a more aesthetic appearance to the ceiling
- Place your projector and seats so that no one can "accidentally" access the projector's controls
Step 2: Attach the ceiling mount to the projector
Turn the projector upside down and fix the mount according to the instructions. The lens and mount should line up. Once the mount is in place, make sure that everything lines up nicely with the center line of the screen.
Step 3: Attach the mount to the ceiling
Before fixing the mount to the ceiling, mark the points where the screws will go and use the drill to make the holes. Use as many screws as necessary to make the mount is secured. Move the mount a little to make sure it's securely attached to the ceiling.
Step 4: Wiring your projector
Having additional cable is always a good idea, so make sure you have some extension cable available in case the wire that came with the projector is not enough. This wiring should run in a straight line from the projector to the video source. You have several options to hide the cable: you can use decorative trunking, run the cable through the ceiling, or even hide it behind the walls.
Step 5: Align the image of your projector
Once everything is installed, grab the instruction manual and follow the steps there to adjust all the necessary factors to get the highest possible image quality. Keep the following tips in mind as well:
5.1 Zoom and focus
Adjusting the zoom and focus is essential for good image quality. You can adjust the focus with the radial of the lens, as this allows you to zoom in or out on the screen with precision. Remember to also adjust the frames on the screen. The idea is to adjust the zoom until the image covers the entire screen without protruding or being cropped.
5.2 Image adjustment
This step is similar to adjusting the picture properties of a TV device. For example, you will need to adjust factors such as brightness, color saturation, sharpness, contrast, image aspect ratio, etc. You can do it manually or use one of the preset settings. These usually come with names such as "Cinema", "Game", "Normal", "Eye Care", etc.
A good aspect ratio is usually 16:9, as this usually fits well within the width of the entire screen. In any case, this will depend on your visual needs, and you can always create your own settings and save them if your projector allows it.
5.3. Sound test
Start by connecting the speakers to the projector's audio port. Then connect the speakers to the other end of the audio cable by connecting the two RCA cables to each speaker.
Place the speakers in the most appropriate place in the room to avoid any kind of sound interference. Turn on your device and watch a movie. Make the necessary adjustments until you get the highest possible sound quality.
Troubleshooting common issues on ceiling projectors

Failures in projectors can be caused by various factors. Although sometimes just turning the device off and on again can work, other times this won't be enough. Before you take your projector to a technician, try this troubleshooting guide.
1. Image distortion and keystone correction problems
Blurred image
- Adjust the focus of the projector
- Adjust the distance between the projector and the screen
Wrong colors
- Check if the projector's firmware is up-to-date
- Adjust colors in image settings
Picture too bright or too dark
- Adjust brightness
- Dim the ambient light in the room
- Check if the projector is in power-saving mode
2. Cable interference and signal loss
- Check whether the cables are well connected
- Check the battery charge on the remote control
- Make sure there is nothing blocking the signal path of the projector
3. Mount stability and adjustments
You can use a stud finder to locate a ceiling joist that allows you to obtain greater stability for the projector support. You will then need to use a screwdriver, lag bolts, and wrench to secure the mount. If there is no stud, place a piece of wood to serve as a bridge between two nearby studs.
4. Overheating and ventilation concerns
Projector overheated
- Check that the ventilation grills are free of dust
- Make sure the projector has enough free space around it
Noisy fan
- Turn off the projector and let it cool down for a while
- Check the vents to see if there is any type of obstruction
Frequently Asked Questions (FAQs)
How much do projector mounts cost?
Projector mounts typically range in price from $20 (a basic mount) to $700 (a complete mounting kit). There are also powered projector lifts that can exceed $2,000.
What if you have a beam or a fan in the way of the ceiling?
You have two options: remove the beam or fan from the ceiling and relocate it to another place. Or remove it entirely.
Can I mount a projector to a drop ceiling?
You can if your projector doesn't weigh more than 4 lbs. or if the drop ceiling has a solid structure with additional reinforcements that can support more weight.
What are the weight limits for different types of mounts?
Check out the following list:
1. Above Ceiling Projector Mounts: For large projectors weighing around 5 kg or more.
2. Below Ceiling Projector Mounts: Best for smaller projectors with an average weight of 3 kg.
3. Projector Lifts: The weight these mounts can hold varies in relation to their technical features. They can usually handle weights greater than 5 kg.
How do I determine the optimal projector placement?
The easiest way is by trial and error. After that, use the mounting guide in this article to make any other necessary adjustments.
Can I mount a projector to a sloped ceiling?
Yes. Just keep in mind that you will probably need to make some adjustments to the projector's placement and image controls.
Can short throw projectors be ceiling-mounted?
Yes. These types of projectors are usually placed on small tables or even on the floor, but you can also mount a short throw projector on the ceiling using a specialized projector mount.
Wrapping It Up
Mounting your projector on the ceiling can transform your media room experience and make it more enjoyable, but the installation requires that you consider several factors even before you purchase a new projector and mount. This includes a series of measurements such as the size of the screen, the size of the room, and the projection distance, among others.
If you follow the instructions in this guide, you can be sure that you'll be able to finish the task successfully.
If you are interested in purchasing a new projector or want to explore other similar options, remember that WEMAX is the leading brand for laser, portable, and LED projectors. We can provide you with a one-stop solution for all your visual application needs.
Share:
Difference Between Static vs. Dynamic Contrast Ratio
6 Creative Ideas with a Mini Projector for iPhone